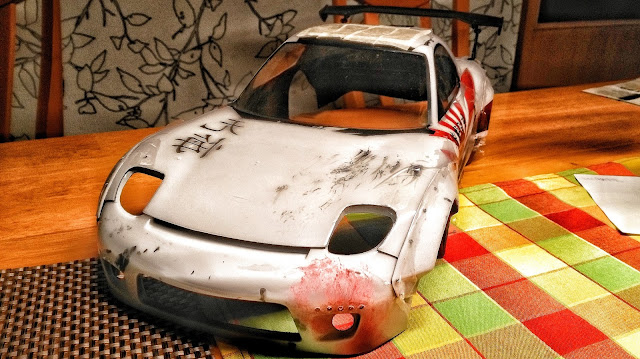
Another project, another RB Mazda. This time an RX-7
Hello and welcome back! As my latest build projects gradually takes shape, there is a new post to share a pictures I collected on my phone along the way.
I am constantly forgetting to take a sufficient amount of photos when I am building, not mentioning to pull out a better camera, so please bear with me. Maybe few years later, I will improve my manners regarding that.
I was keen to make a Rocket Bunny RX-7 ever since I got into the RC drifting hobby, so when I was purchasing the MX-5 for my last build and I stumbled into a Demi Works Rocket Bunny kit, I just had to include it into my order.
Finding out RCMart was selling the Tamiya RX-7 bodies with free shipping, there was nothing holding me back and after I finished the MX-5, I opened a bottle of Czech beer and all the right packages.
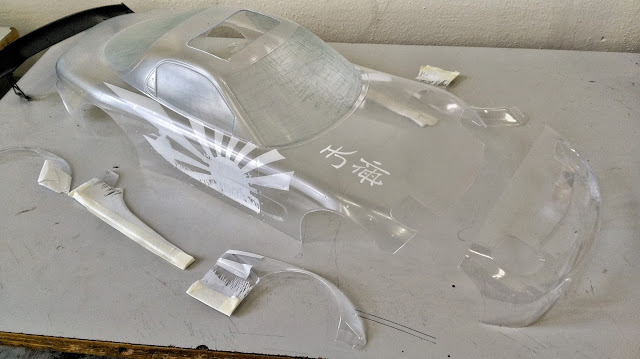
After a wild lesson with MX-5, cutting and fitting the Demi Works kit was quite easy. Partially because their lexan is crazy thin and soft.
No problem, I was going to reinforce the front with Shoe goo and spare lexan pieces anyway. At least the mould quality is fine and all the parts fit without major interventions.
Masking with a liquid mask becomes a routine. I found it the best way, since I am spraying the window frames from the outside and this way I can cut it around just where I need it and it also leaves a clean edge without any leaking issues, or sticky residue after I remove it.
I ordered an AS-186 compressor with BD-130 spray gun with some colors and cleaning tools.
I separated the image into the particular motives and I sent the source files to my friend to make a vinyl masks.
Placing the masks was frankly the most annoying part of the build. Having to separate the masks between the body and bodykit turned into a solid headache. I had to to make it align as precisely as possible, so the pieces on the fenders and side skirts follow the lines on the doors.
Using the airbrush for the first time was an adventure. First I sprayed red and black on a piece of wrinkled paper to make a cool (IMO) stains of blood and dirt.
After that I mixed a white with a little bit of black to make a very light grey base color. Then I snapped my spray gun nozzle. Great..
Luckily one trackmate had his spraygun on there and agreed I could borrow it to finish the job.
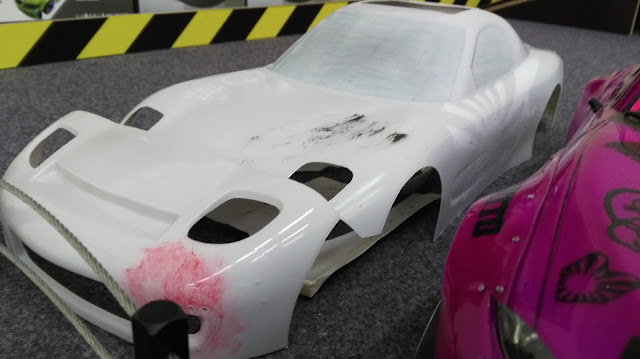
Although that one had a bigger nozzle and I am a noob in airbrushing, so I screwed the red and black a bit, I am quite satisfied by how the end result came out.
After all this, attaching the body kit was a piece of cake and by far the most satisfying thing for a long, long time.


I am very impressed with your post because this post is very beneficial for me and provide a new knowledge to me
ReplyDeleteRX 7 Advanced Crack
Yrecaepora Matthew Casillas FonePaw
ReplyDeleteAutodesk AutoCAD
Tor browser
zusgaumateam
Great :)
ReplyDelete