Rocket Bunny RX-7 comes alive
Cya folks, welcome back at the second and final post about my Samurai RX-7! There is a lot of updates, so let's cut the intro short and get into it!
If you missed it, check the start of this build.
Painted by a red color to match the shell color scheme, it looks dope.
I have also fitted a simple styrene dashboard and glued both pieces in with shoe goo. Both side windows are cut opened to bring some more detail.
Since there is no good place in the Rocket Bunny nose to add blinkers, I have drilled through the side mirrors and placed an orange LEDs inside. For the exhaust illumination, I decided to try two color LEDs (red and orange), which will flash independently.
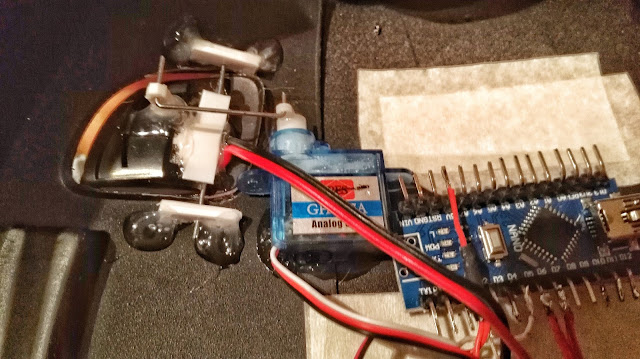
For the headlights, I wanted to take a challenge and make a servo-driven pop-ups. Each light has its' own servo and is controlled separately. It was one of a story to make it work, as a part to make this shell stand out from a crowd of all the RB RX-7s, it is a 100 percent worth it.
The headlights operate smoothly and with some additional pieces to secure the mechanism, I hope they would last long without breaking.
Quite a bunch of wires if you ask me, but after sorting out few electrical gremlins, whole assembly should get the job done.
You can see the lights in action here on this short video.
After this, the rest was an easy job. I added a decent lexan lip under the front bumper and painted the screws black to match the rest of the car.
As I mentioned earlier, whole Demi Works kit is very soft and fragile, so I added some spare lexan pieces on the back side of the bumper, stiffening it to endure the abuse, which is definitely going to come. The intercooler will contribute in this department too.
Opened sunroof makes a cool addition to the overall look of the body.
On the rear end, I added a wire supports for the WANG and slapped some stickers. Exhaust is on the place and a hand crafted Mazda badge fits well.
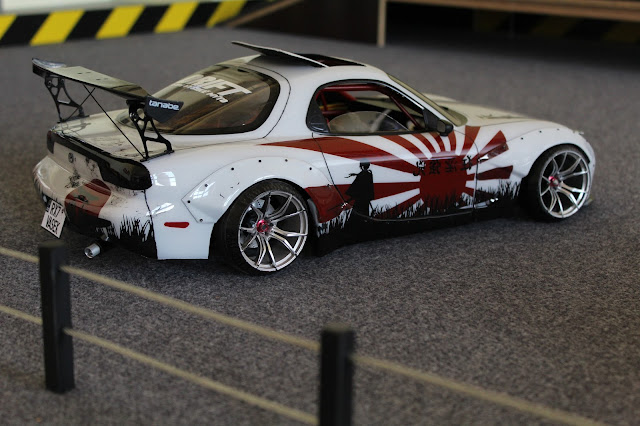
Aaand here is the complete package!
Front to back - IMHO - a successful build. Now only waiting for a set of body magnets and we will be ready to rock and roll!!


RX 7 Advanced Crack
ReplyDeleteI am very impressed with your post because this post is very beneficial for me and provide a new knowledge to me